

Advantages:
No log in required, Ordnance Survey map in a separate screen, exceptionally simple to use, TCX and GPX format options, save to file, off and on road routing, elevation checking.
- Use your browser to access www.bikehike.co.uk
- Enter desired start location in the box:
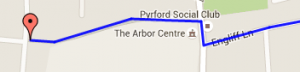
 Drag the map with your mouse to the desired start point, using the scroll feature on your mouse to zoom in or out
- Using the left hand map, place cursor on desired start point and left click
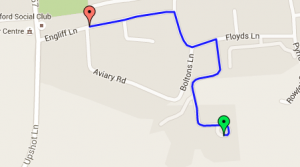
- Click on the road you wish to follow
- If you need to go off road (e.g. footpath, bicycle path) remove the “tick” from “Follow Road”
- Note you will need to click several times along an “off road” route to avoid long, straight lines.
- Revert to “Follow Road as soon as possible because this saves time
- When route completed click on “Save Route” and the following window will open…
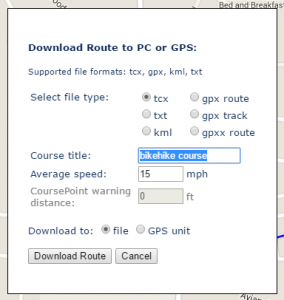
- Select preferred file type – preferably tcx for modern devices, and give the course a name that you will recognise. Click on Download – this will place the .tcx file in your Downloads folder (Windows or Mac)
- You may wish to use File Explorer to move the downloaded file to a new location (e.g. GPS Routes).Connect your Garmin to your PC/Mac via the normal charging cable. It will switch on automatically. After a short delay you should see two new screens
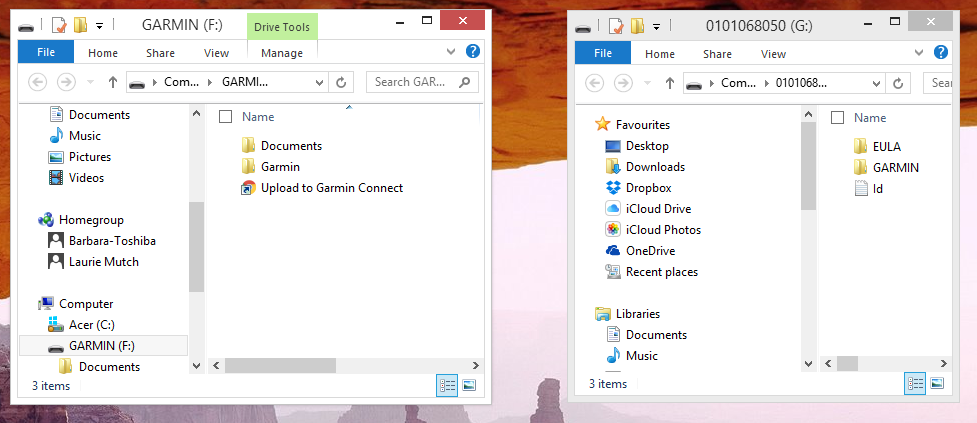
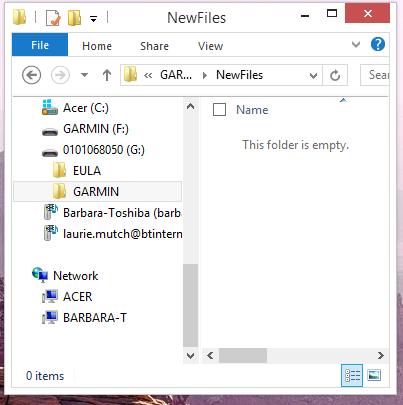
- In the example above there are two storage locations on the GPS unit. “F” is the internal memory and “G” is the plug in memory. Note the F and G designations will be different on your PC. You can store your route on either of F or G. Click on Garmin on either, then on New Files. If you have a Mac, one of the volumes on your desktop will be labelled ‘Garmin’, open it and browse to the NewFiles folder.
- Using File Explorer, copy your saved route .tcx file across to the NewFiles location on the GPS
 Health Check: It’s a good idea to disconnect the GPS properly from the PC. To do this click on “show hidden icons” (usually bottom right of your Windows screen). Find the “safely remove hardware” button and “eject” the two memory locations – just like a memory stick. With a Mac, right click and eject.
- Switch on the Garmin, click on Menu and then on Courses and you will find the course your created –
Whoopee.